Downtown Undercut
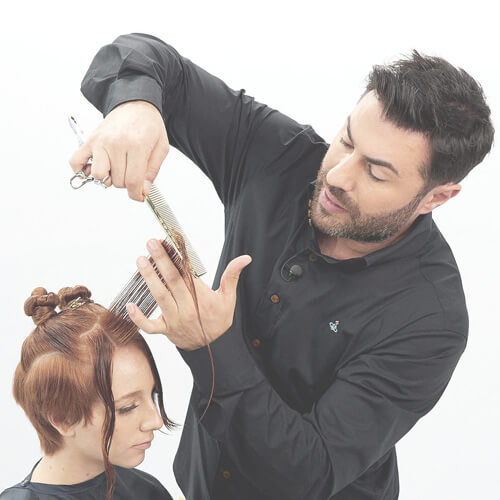
THE DOWNTOWN UNDERCUT TUTORIAL
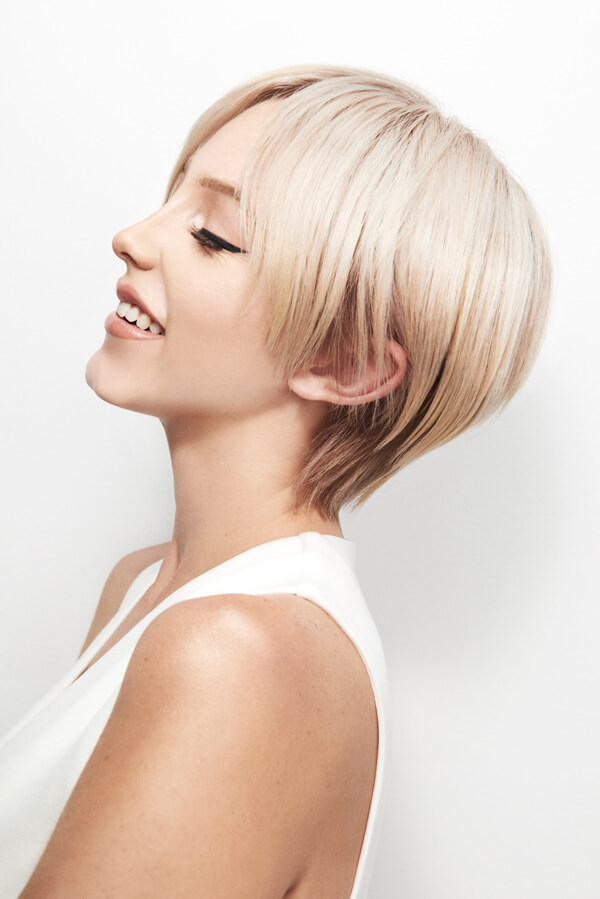
Joico Global Artistic Director, Richard Mannah, has a subtle new take on this multi-dimensional crop. Forget those severe shave/scissor combos. Inspired by the downtown style-setters in NYC, the modernized look hinges on a creative, rebellious, experimental vibe…perfectly showcased by actress Kristen Stewart’s iconic dos. Shorter and softer than your run-of-the-mill undercut, this look glows with subtlety; in fact, only when you lift the back layers do you start to see the undercut elements.
In this video, you’ll learn:
An easy-to-learn technique to create a soft and feminine undercut
How to create a shorter shape and reduce weight at the same time
A versatile cut that can be worn in many ways-Edgy and fierce or classic and polished
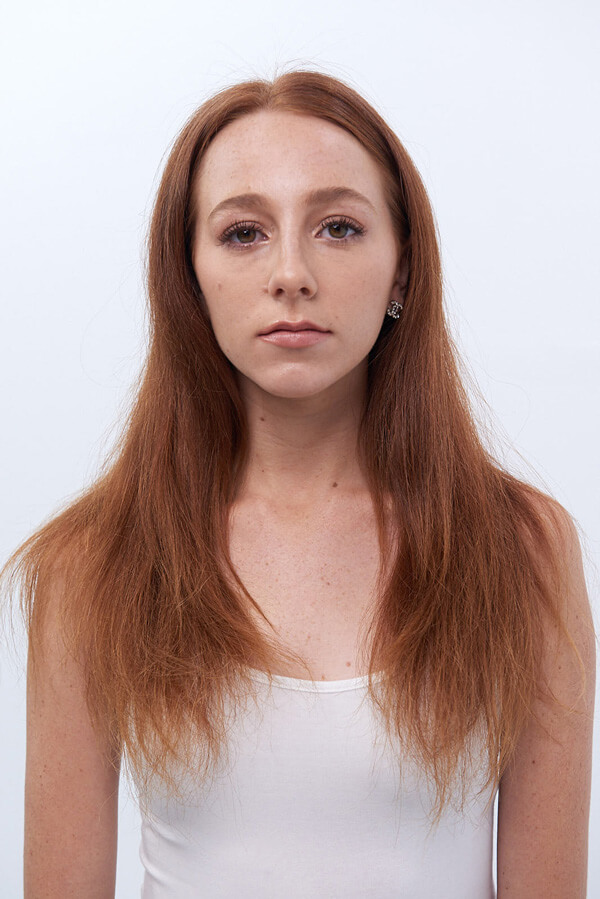
BEFORE

AFTER
The Downtown Undercut Step-by-Step
Love the effortless, tomboy-chic of hip downtown girls you see in every big city around the world? The Downtown Undercut brings on the grit and the glam to create a shaggy pixie that gives off those same cool-girl vibes. And the best part is, it polishes up nicely with a just a little finessing for that occasional trip uptown—the kind of stylish versatility we know you and your clients crave.
STEP 1:
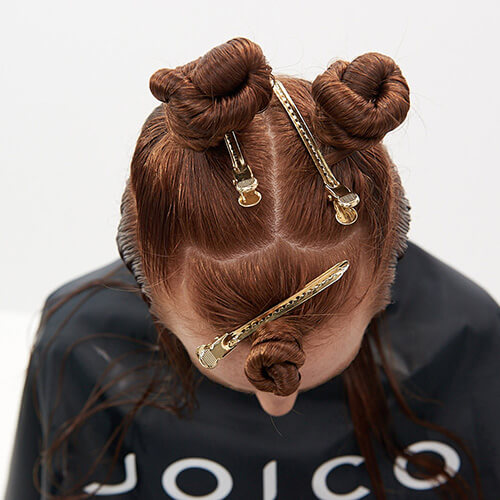
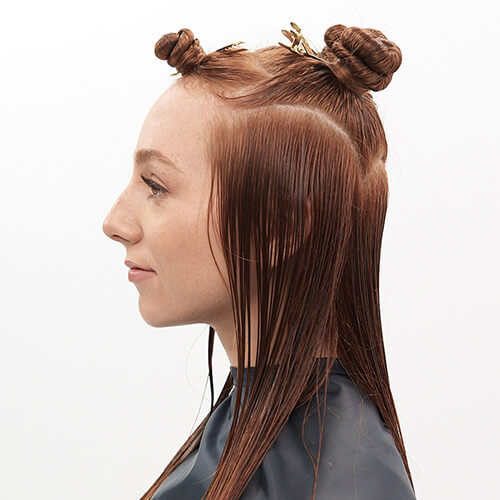
Start your sectioning by taking a center parting to the nape. Create 2 “C” curved sections in the front about 2 inches from the hairline that isolated to the corner of the brows for the fringe sectioning.
STEP 2:
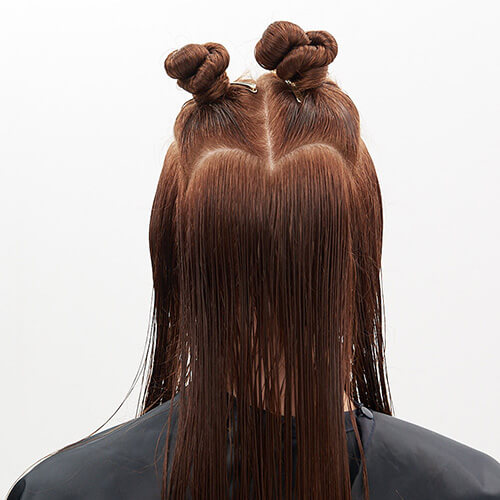
Create a large “C” curve section from the recession point to behind the ear on either side.
STEP 3:
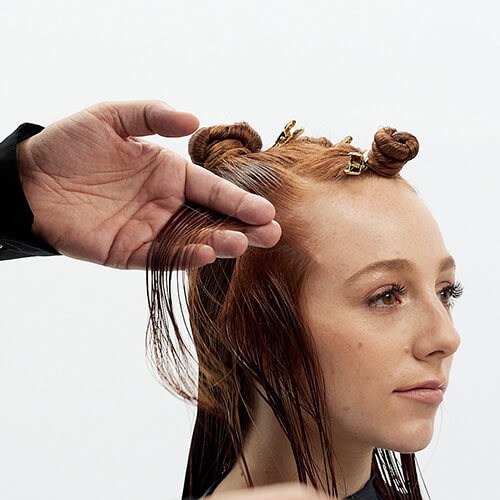
Then a “C” curve section from the ear point to the center of the occipital.
STEP 4:
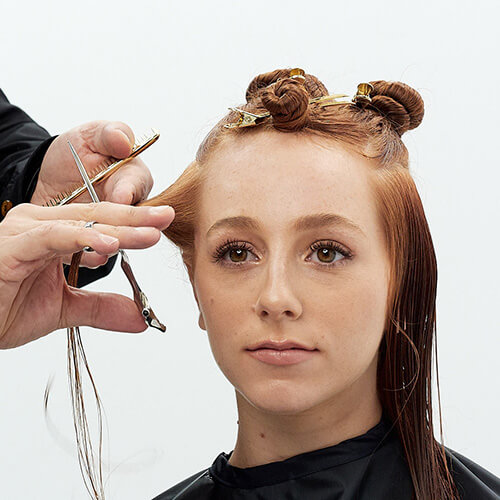
Working in the front side section, subdivide the hair from the ear forward. Take a horizontal parting from the top of the section and cut square at 90 degrees. The length you cut will determine the shortness of the undercut. Its always a great tip to start longer, check your guide and suitability of length, then adjust.
STEP 5:
Take another horizontal section and elevate straight out. Your guideline is on top. Cut square.

STEP 6:
Take the final parting and over direct to the last parting and cut to the guideline square. Repeat on the other side. Check for balance and suitability.
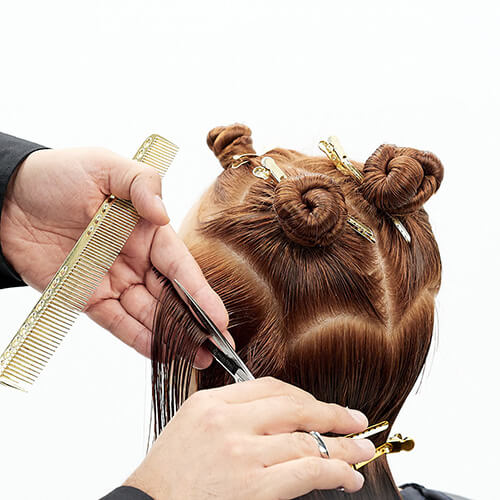
STEP 7:
Connect the sides in the rest of the section by taking a diagonal back parting and cutting to your guideline elevating the hair 90 degrees.
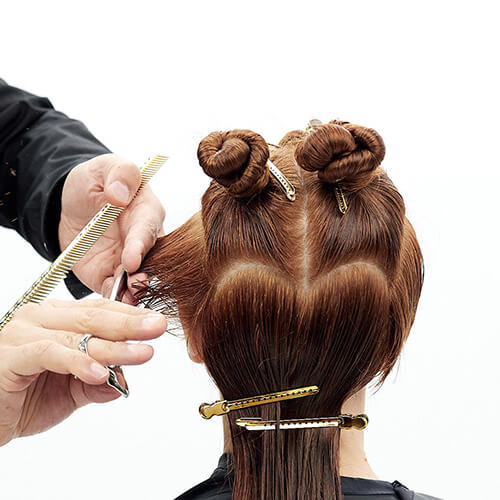
STEP 8:
Continue to take diagonal back partings and elevating 90 degrees to cut square until the entire section is complete. Repeat on the other side and check for balance.
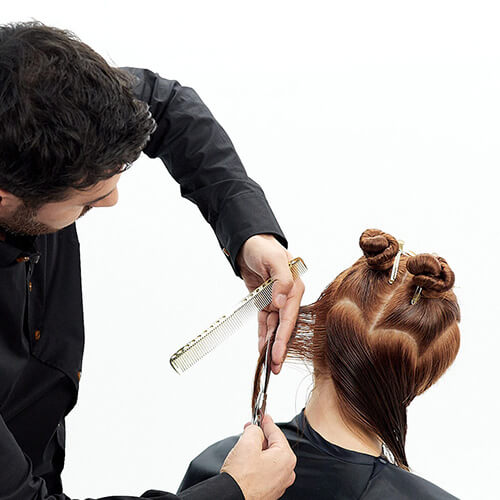
STEP 9:
Take a diagonal back parting that extends into the nape area. Follow your guideline from the sides, elevate 90 degrees and cut square.
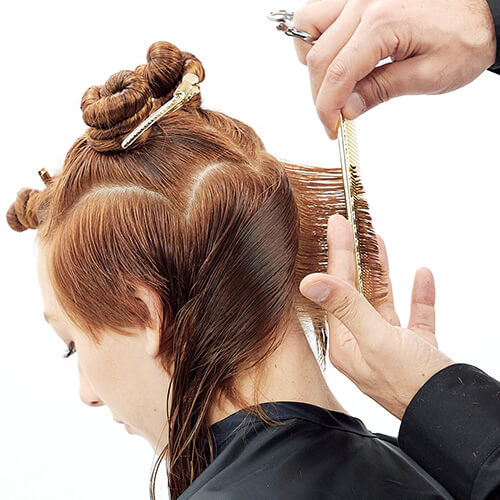
STEP 10:
Continue to cut the back graduation using a traveling guide at 90 degrees elevation. Tip: have a clients head moved down for ease of cutting and hand placement.
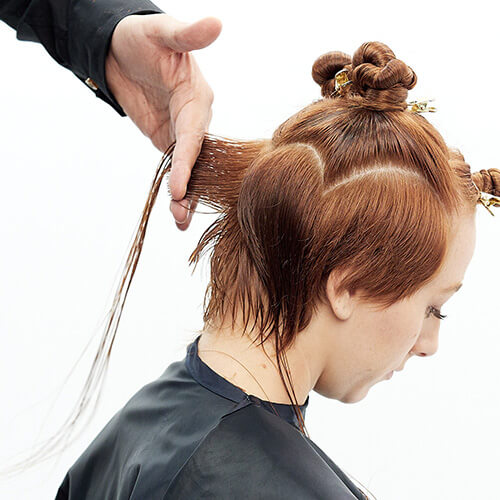
STEP 11:
Repeat on the other side. Check for balance. Dry the hair that has been flat before moving onto the next step.
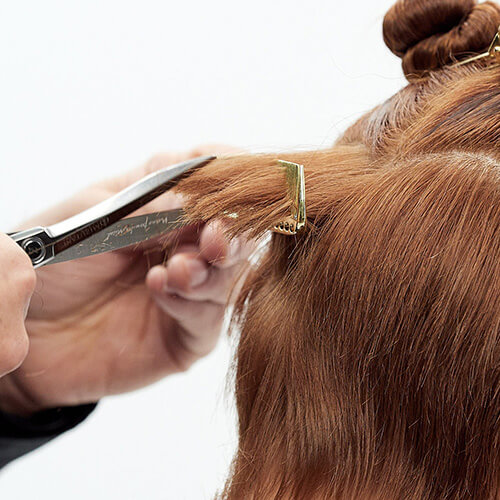
STEP 12:
To reduce weight throughout the graduation, pick up the hair where you feel it is bulky, hold the hair with the comb at a higher elevation and point cut keeping your scissors very narrow into the parting. Keeping the scissors at a strong angle could completely change the shape. Reduce weight throughout the graduation. Check for balance.
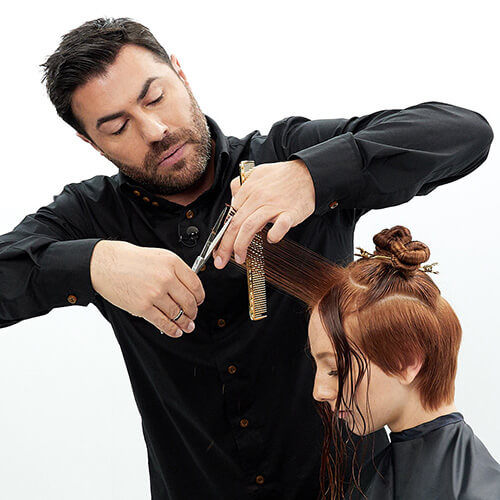
STEP 13:
Starting the overcut portion; move to the fringe area. Take a center parting, over direct forward and cut square and slightly shorter to longer. Start the shape longer, check for balance and suitability then adjust.
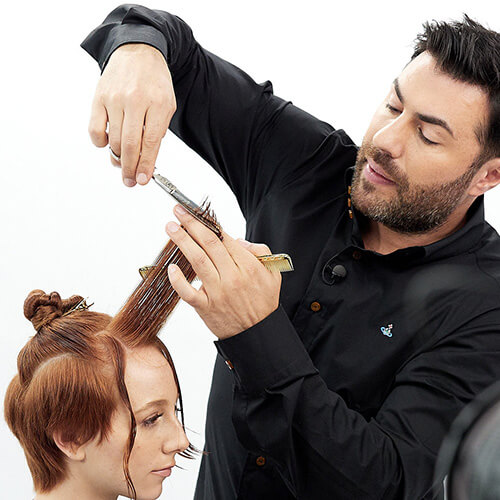
STEP 14:
Continue to take diagonal partings in the fringe area, cut to your stationary center guide. Repeat throughout the entire fringe section. Check for balance, suitability and design.
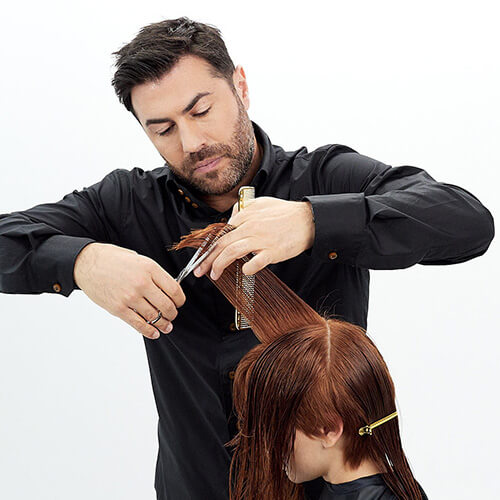
STEP 15:
Moving to the top sections, release from clips and subdivide from the top of the head to the top of the ears. Take a center 1 inch parting and cut to your guideline in the fringe from short to long.
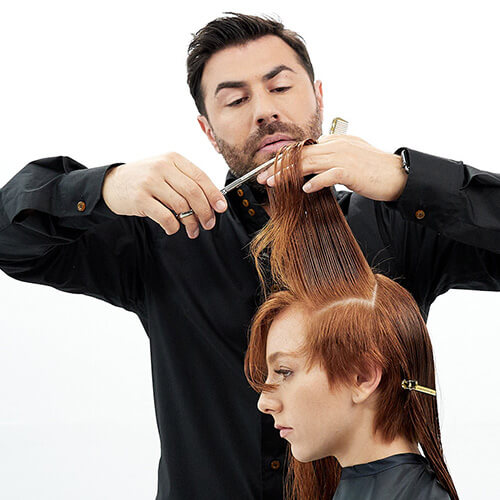
STEP 16:
Take horizontal partings and continue to cut to your center stationary guide. Repeat on the other side and check for balance.
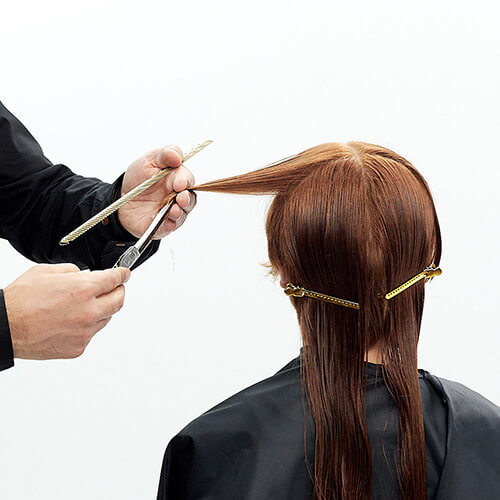
STEP 17:
Comb the out 90 degrees and cut your length. This is determined by consultation, suitability and balance. Point cut your length on both sides and then check for balance.
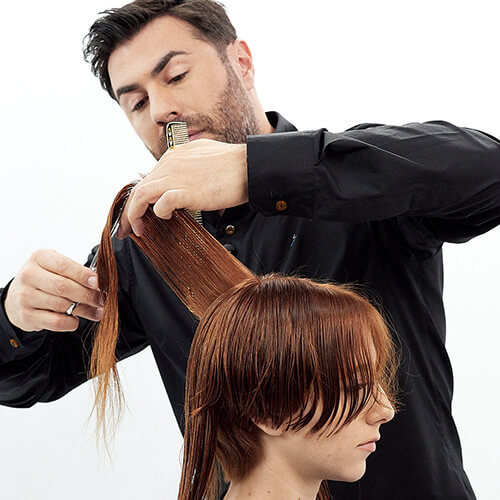
STEP 18:
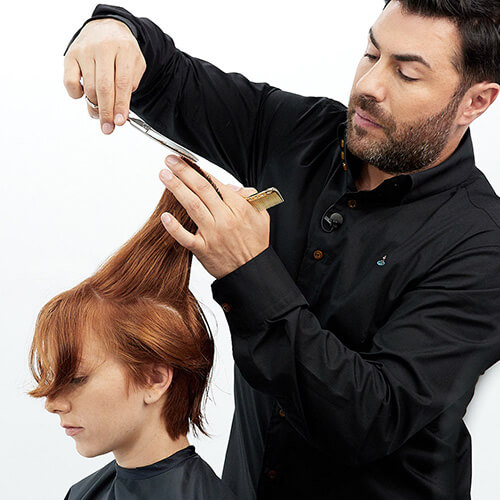
Take a center parting from the back crown area and using the previous area as a guide, cut the parting long to short elevating the hair 90 degrees.
STEP 19:
Working with pivoting radial sections from the crown, take diagonal sections and cut to the guide in the back, working side to side, until the back crown is completed. Check for balance.
STEP 20:
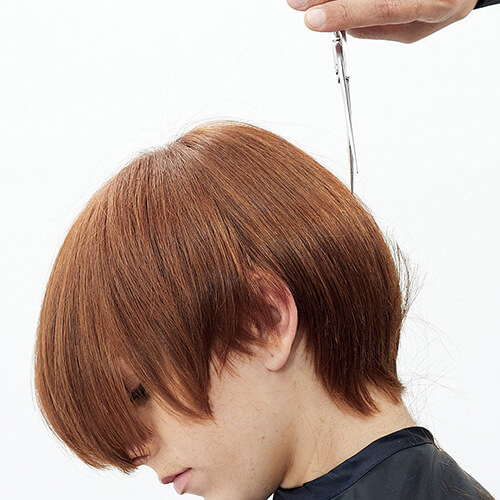
Take vertical partings from the front and over direct to the back to check your guide and balance. Point cut to blend the two sections together. Dry the hair completely. Detail the haircut according to hair type, density, texture and client consultation/ suitability. Detail the nape.

Get The Color Technique for the "Downtown Undercut"
There’s nothing more “uplifting” and glam than perfect platinum-blonde hair color –shiny, chic, and eternally feminine. And with Joico International Guest Artist, Cherry Petenbrink’s secret-weapon technique, you’ll never compromise the health of delicate double-processed hair.


