Mod Shag

THE MAKING OF A MODERN SHAG
Learn how to re-shape this rock-n-roll classic with a casual, tousled, visually effortless look from Joico Global Artistic Director, Richard Mannah.
In this video, you’ll learn:
How to customize the Mod Shag for individual clients
The art of the trending “curtain bang”
Tweaking the technique for long-haired looks
Tricks for adding cool texture and layers
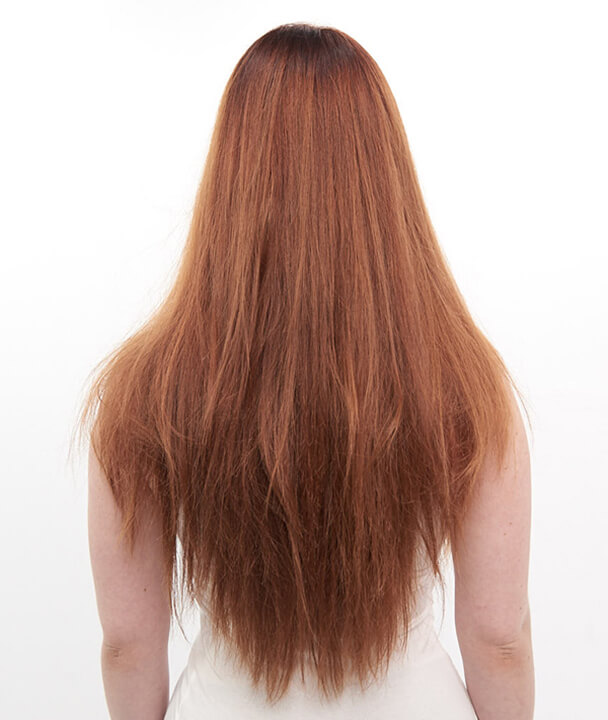
BEFORE

AFTER
The Mod Shag Technique
If you’re looking to create a modern look that’s original and can be designed to suit each person’s face shape, hair density, and hair texture, the M.O.D. Shag has it all. No matter the hair length, this cutting technique creates seamless disconnected layers that enhance hair’s natural texture, along with the perfect fringe—one that opens up the face and puts the focus squarely on your client’s best features.
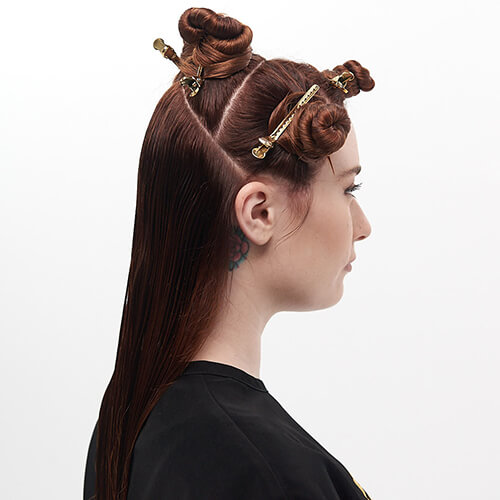
STEP 1:
Take a center parting to the crown. Section from the crown to top of ears on each side.

STEP 2:
Section the fringe off the center parting about 2 inches back from the hairline that extends to the top of the brows. The fringe section will depend on client consultation, hair density and desired end result.
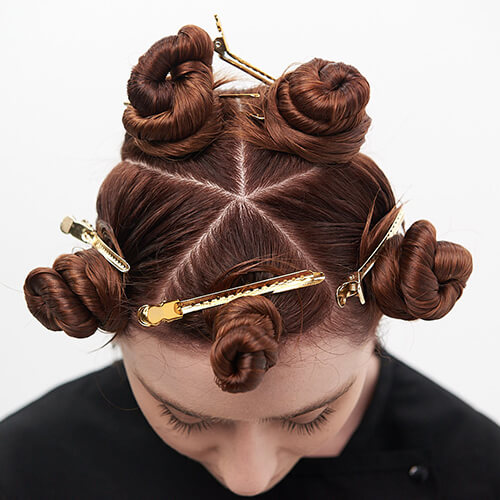
STEP 3:
Section from the top of the fringe triangle a diagonal back parting that ends about 2 inches above the ears.
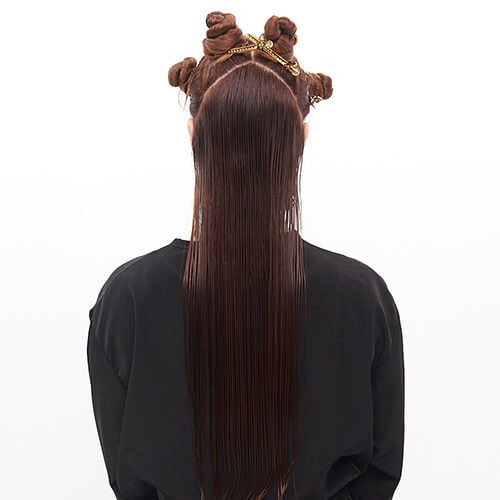
STEP 4:
The back section is 1 total section with 5 total sections in the front.
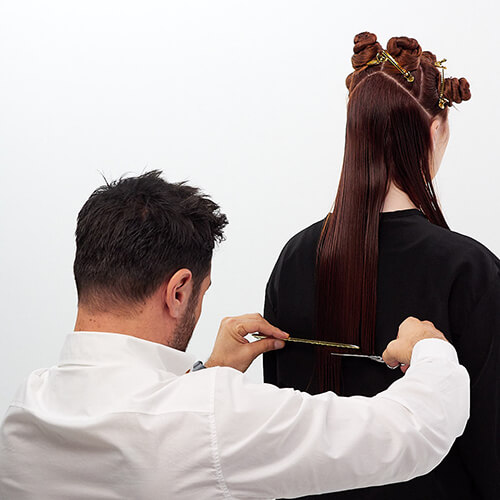
STEP 5:
Starting in the back, comb wet hair straight down at 0 degrees and cut baseline. This length is determined by client consultation and desired end results. Use your comb to cut a straight line.
Tip: Stand your client up to for stylist comfort and to see the natural fall of the hair.
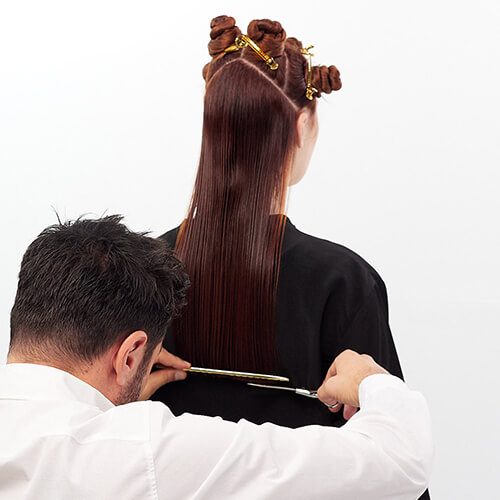
STEP 6:
Continue to cut the baseline in the back. All hair should be combed back and into a straight line. Make sure client is facing straight forward. Use your comb and scissors to cut square straight line. Check for balance.
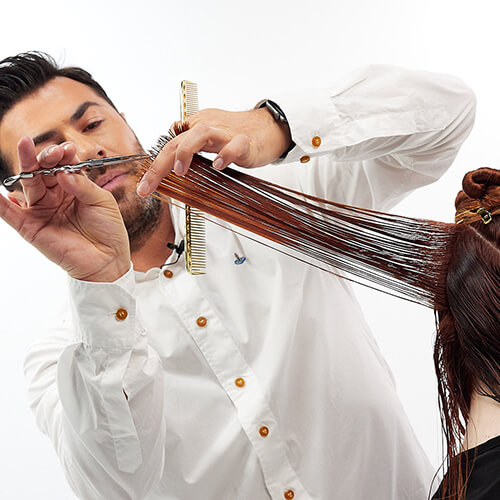
STEP 7:
Begin to layer the back section. Take a center parting guideline that is 1 inch wide. Comb hair and cut to reduce weight at 90 degrees to goes slightly overdirected. Point to release weight and blend the layers.
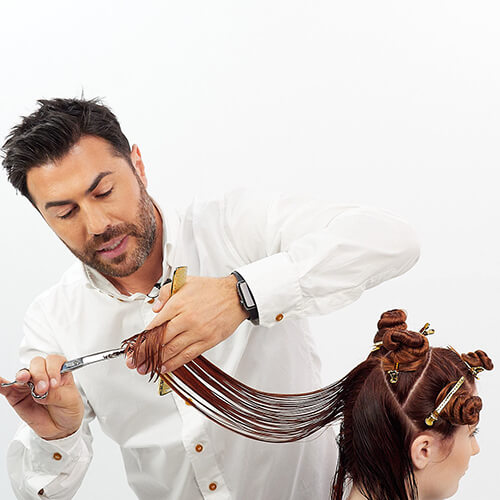
STEP 8:
Take diagonal partings off the top guideline point and bring hair to stationary center guide. Point cut the hair to the guide. Continue to cut the back side bringing the hair to the center guideline to create inverted layers. Repeat on the other side.
STEP 9:
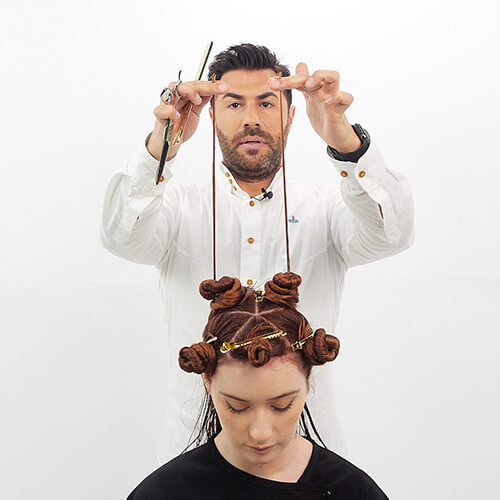
Check for balance. To do this, pull two pieces of hair from the same elevation on either side of the hair in the area you just cut. Check for balance in multiple areas.
STEP 10:
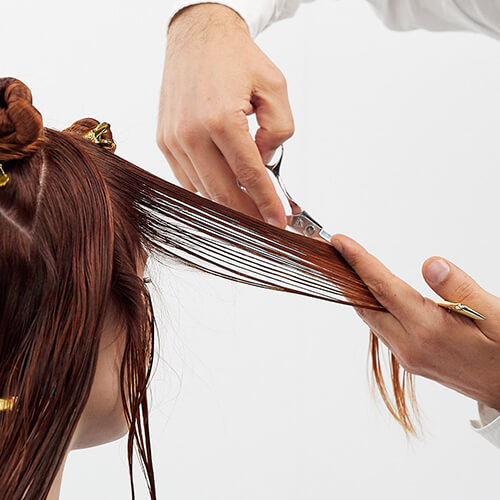
To open up the face and frame the front area, take a diagonal back parting in the front side section. Over direct the hair to in front of the face. Holding the hair with medium tension, slide cut the layers in. the layers should fall below jaw or to desired length.
STEP 11:
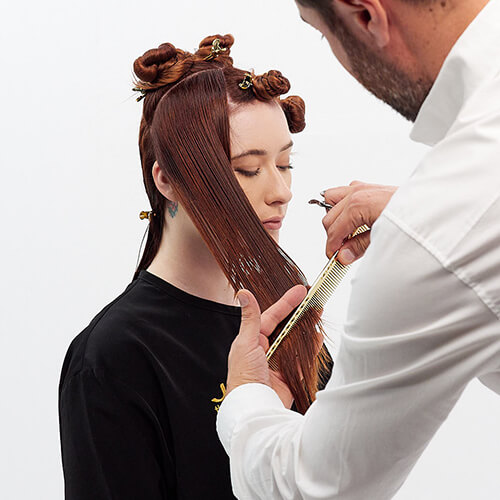
Continue taking diagonal back partings and overdirecting forward to your stationary guide. Slide cut the layers until the entire section is complete. Repeat on the other side and check for balance.
STEP 12:
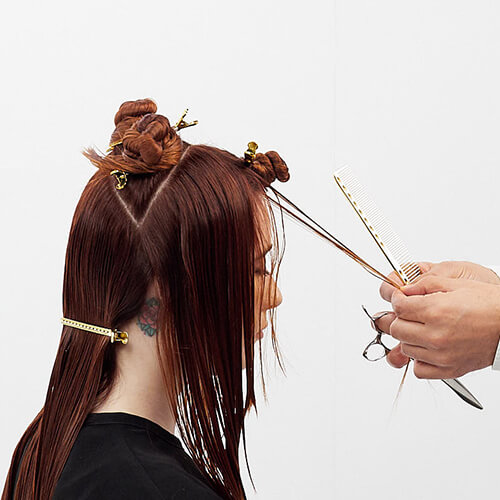
To establish a guide for the opposite side, take a piece of hair from the highest point that is equal on both sides. Cut your guide point in.
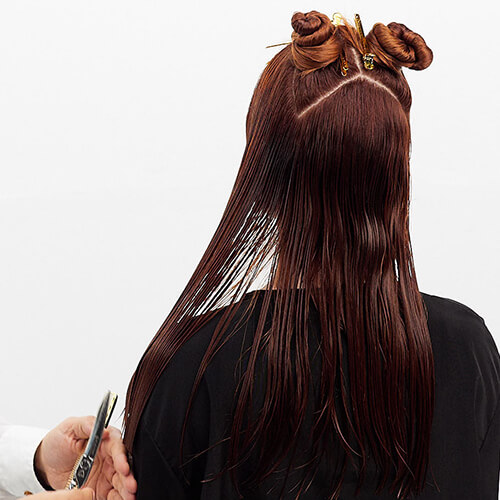
STEP 13:
Connect the front and back baseline. Comb the hair down square and point cut at 0 degree elevation. Check for balance and precision.
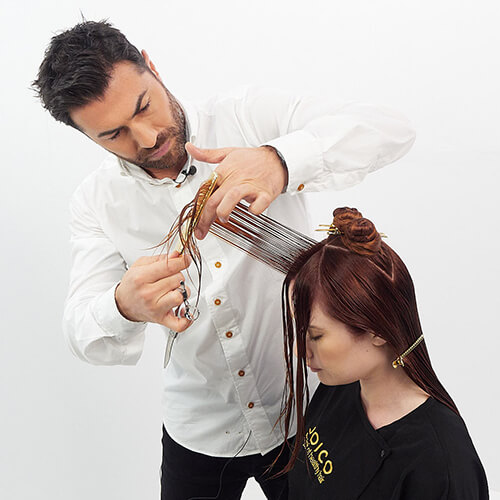
STEP 14:
Working in the fringe section; take a center parting and over direct forward. Point cut the fringe longer to start to see the natural fall of the hair after you place your guideline in.
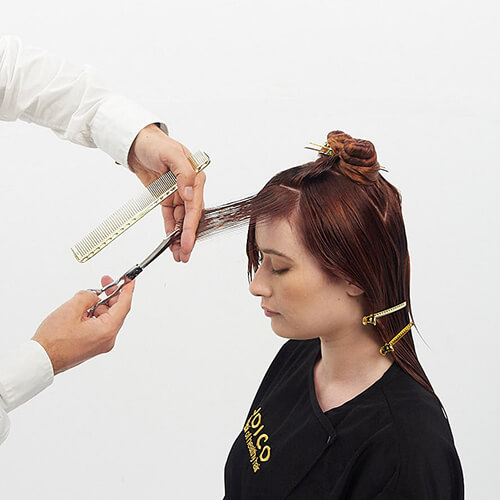
STEP 15:
Subdivide the fringe down the center. Working in horizontal partings, elevate and over direct the partings forward and pointcut to your center guideline. The fringe should be cut shorter to longer from the center out. Repeat on the other side to complete the fringe. Check for balance, length and suitability.
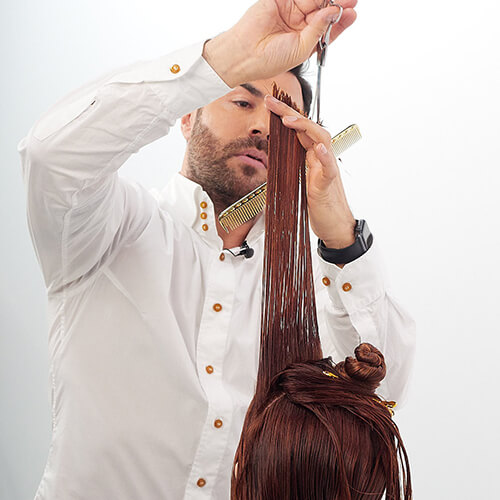
STEP 16:
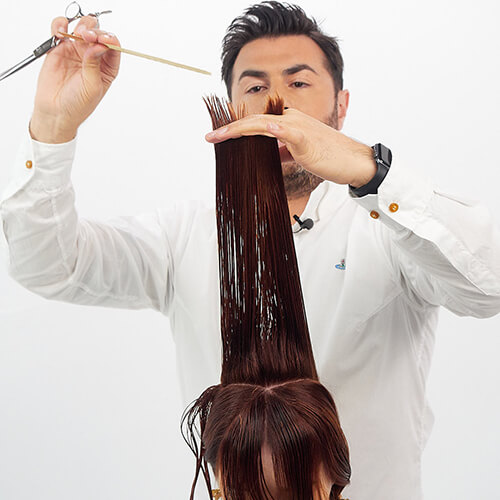
Clip all the remaining bottom sections for control. Working in the top crown triangle sections; you will be working shorter to longer and creating a new guide line. This section will be disconnected. Take a vertical parting and elevate straight up. Cut the section short to long from the center out. The amount of length you cut will determine the outcome of volume, texture and layering. Continue cutting until the entire section is complete. All partings are cut to stationary guide. The triangular sections and sub partings mimic the fall of framing the face and working into the previously cut layering.
STEP 17:
Repeat on the other side. Check for balance. The shape of the section should be “V” shaped evenly. Dry the hair and style as desired using your favorite Joico products.
Products Used
Get The Color Technique for the "Mod Shag" Cut
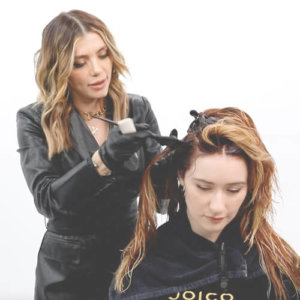
Put a high-contrast spin on the trendiest Mod Shag using Joico Brand Ambassador, Larisa Love’s Hi-Lo Fusion Color Technique.


