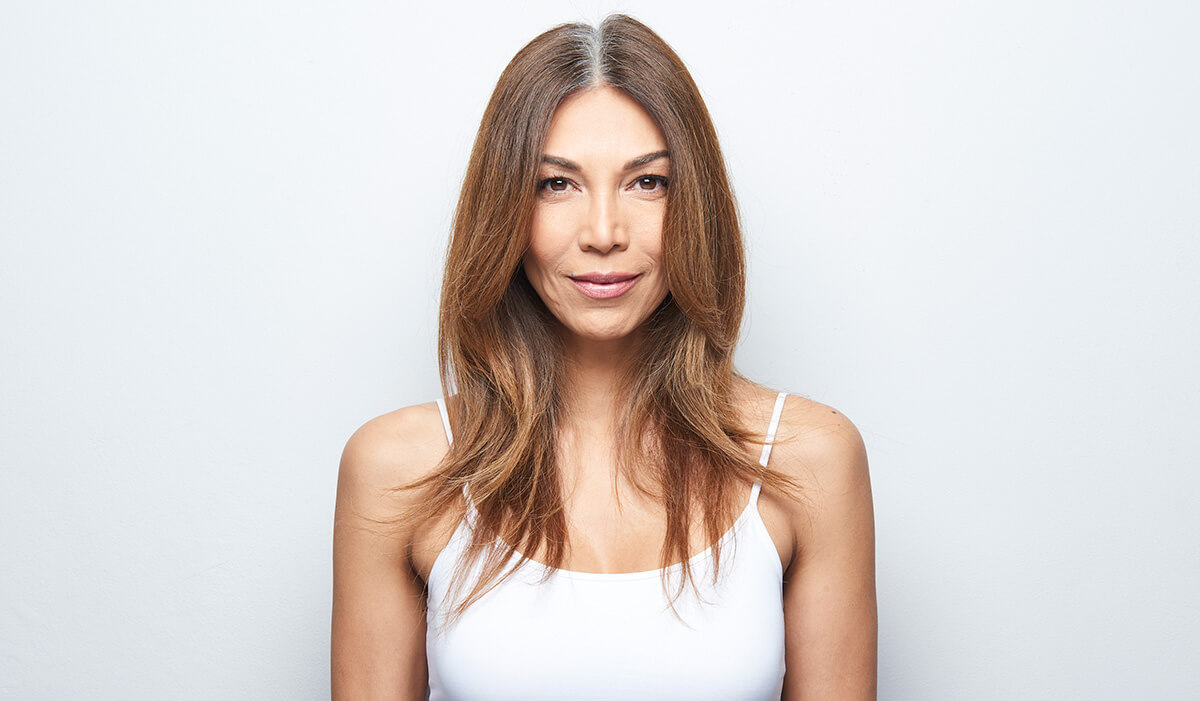
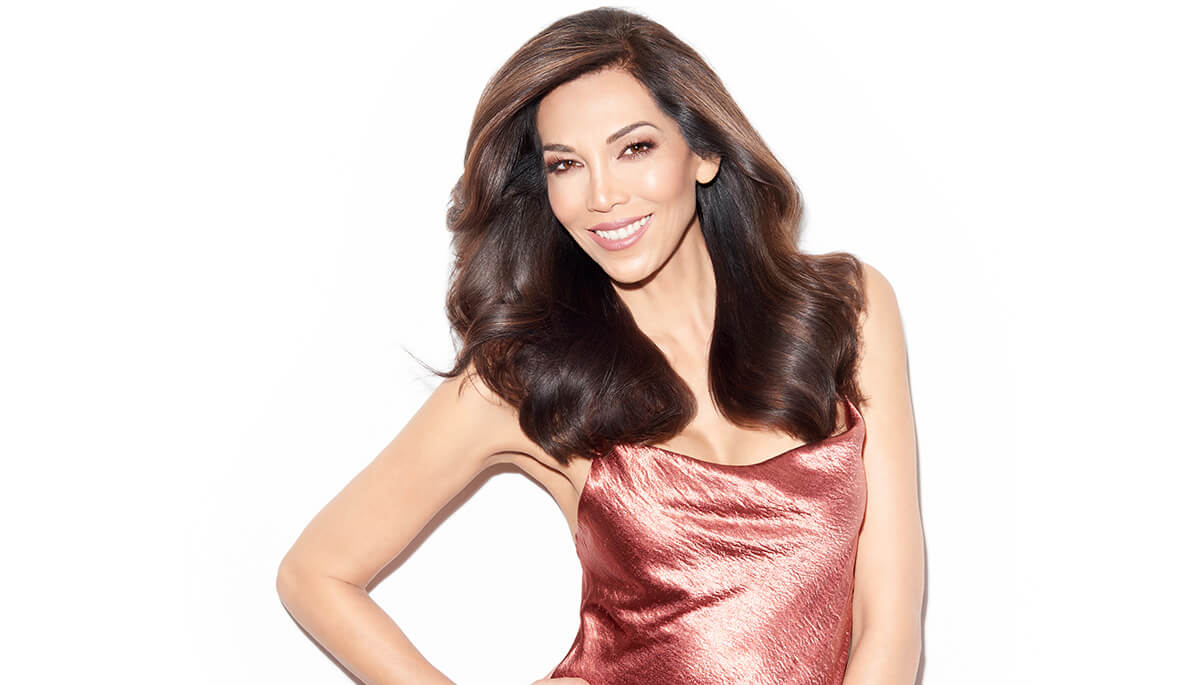
Unlock hair’s youth potential with NEW LumiShine® YouthLock, Joico’s first collagen-infused permanent crème color. Harnessing the fountain of youth-like properties of Collagen— known to keep skin youthfully plump and improve skin elasticity and hydration—this innovative formula helps revitalize strands and lock in the look and feel of younger hair. With just one color service: Hair springs back with renewed bounce,* body,* and signature LumiShine shine.** Resilience returns. Smoothness and softness*** are restored. Resistant gray gets our most gleaming and gorgeous coverage. “This all-in-one technique covers gray to perfection while creating gorgeous dimensional results with no fuss, no foils—in record time! It’s a true, youth-restoring transformation your clients are going to absolutely love!”- Larisa Love
LumiShine YouthLock

Hair Prep: Joico Defy Damage Pro Series 1: Bond-Protecting Color Optimizer
Formula 1: LumiShine YouthLock 6NN with 20 (6%) Volume LumiShine Developer
Formula 2: LumiShine DD Demi-Permanent Crème 6N with 5 (1.5%) Volume LumiShine Developer
Formula 3: Free Play Clay Lightener with 10 (3%) Volume LumiShine Developer
Formula 4: Free Play Clay Lightener with 20 (6%) Volume LumiShine Developer
Formula 5: LumiShine Demi-Permanent Liquid 6NWB with 5 (6%) Volume Developer
Post Hair Treatment: Joico Defy Damage Pro Series 2: Bond-Strengthening Color Treatment
Technique

STEP 1:
Prep the hair with Joico Defy Damage Pro Series 1. Starting in the back, take two-inch sections, shake the can vigorously and spray in short bursts. Comb the hair for even distribution.

STEP 2:
Section the hair into three sections. Part the hair down the middle. Section from crown to top of each ear.

STEP 3:
Apply Formula 1 to the regrowth in 1/8 inch partings starting in the back.
Tip: Starting in the back will have you end in the front, keeping all the hair away from the clients face for ultimate client comfort. If your client’s gray percentage is higher in the front, start there first.

STEP 4:
When retouching the top, take diagonal partings to create a perfectly blended shadow root base application. The application should be in a tear-drop application.

STEP 5:
Once the regrowth has been applied, section the back in half down the middle.
Tip: Starting in the back allows you to maintain ultimate client comfort and keeping the hair out of the client’s face. It also allows you the insurance that if the back lightens up faster than you thought, you can rinse the back and continue working in the front.
Tip: Keep a damp towel available for easy cleanup around the hair line and/or your hands.

STEP 6:
Take a large 2-3-inch diagonal forward parting. Take a fine slice parting above that, clip away and apply formula 2 (lowlight) from growth application to the ends to the bottom parting.

STEP 7:
take down the clipped section and apply formula 3 in a balayage method saturating the entire section.

STEP 8:
Take another 2-3-inch section, depending on hair type and density, and repeat the process. The will give you lots of depth and a quick application. Keep your balayage parting fine to normal based on how much lightness you want to see. Lay the low light to one side and the highlight to the other side. This technique allows for no foils, no meche, no fuss.

STEP 9:
Repeat the process throughout the right side until you reach the crown. You should have 3-4 sections depending on hair type and density. End with a balayage application at the crown. Repeat on the other side using your first diagonal sectioning as a guide for the left side.

STEP 10:
Working in the front sections now; take a diagonal back 2 inch section that extends from temple to crown. Repeat the same technique. Take a fine slice parting that includes the front hair line and clip away. Apply formula 2 to the bottom parting from regrowth to the ends. Take down the clipped section and apply formula 4 in a balayage method.

STEP 11:
Repeat the same process working up the head. As you work up towards the crown, your balayage partings should start lower down the hair shaft. This will add more depth and dimension to the final look. Your base color should extend more down.

STEP 12:
When reach the top, take a triangular out at the front. The remaining hair behind will be your low light. The front face frame will be your balayage. This is the only section that you will take a face frame parting instead of a diagonal slice parting.

STEP 13:
Repeat on the opposite side using your first side parting as a guide. Make sure to use the same amount of partings as the first for a balanced look.

STEP 14:
Process for 35 – 45 minutes for full gray coverage. Shampoo with Defy Damage Protective Shampoo. Towel dry the hair and move onto the gloss application.
Apply formula 5 from scalp to ends on towel dried hair. Process for 15 minutes.
Shampoo the hair with Defy Damage Shampoo. Apply Defy Damage Pro Series 2 and massage into the hair. Process for 5 minutes. Rinse the hair and style as desired.